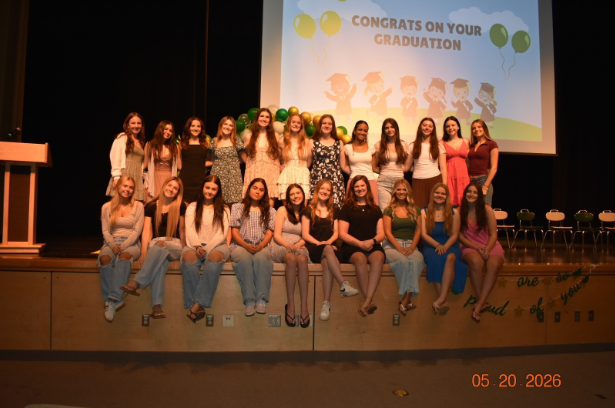
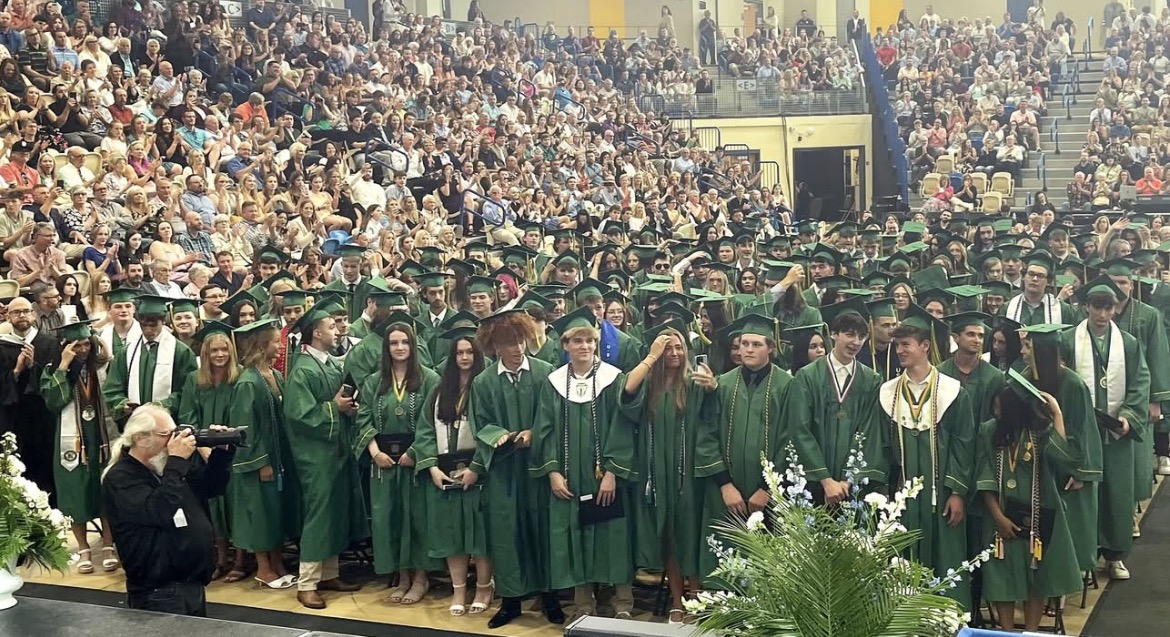
[Photo] Sweating away school stress for free; Gym offers summer membership to teens Emily Johnson, IDR Editor June 9, 2022